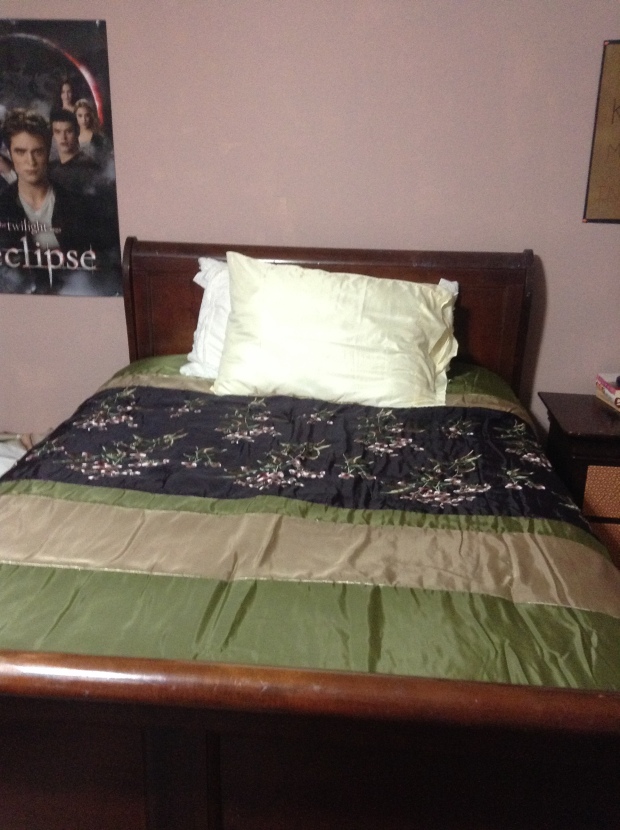
Hello! Today, I am finally sharing with you my oversized pillowcase tutorial. I say finally because I somehow kept overlooking it when I was working on photos. Totally went over my head. Up until I made this pillowcase, I have had a plain white lace trimmed sham on my pillow. And since I have this new bed set, it looks very strange. The sheets and pillowcases are a pale yellow, but the white sham makes them look dirty!
So, I set about to fix the problem. The bed set came with the standard two pillow shams.
Oh yeah, and here’s another view of the white sham:
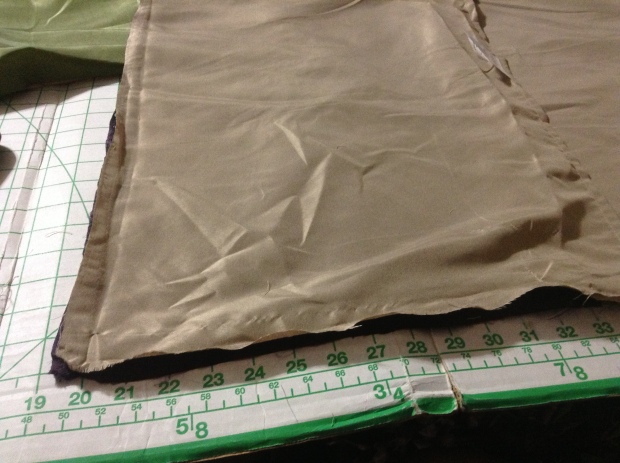
On to the new case! I picked apart the seams on the sides and bottom of one sham. This took FOREVER, it seemed. I had to rip through two sets of stitches, which I wasn’t expecting. The last sham I took apart had one set of stitches and I was done!
Then, I laid it on top of the old sham to figure out how much of the second sham I would need. Just as I thought, I only needed one more panel!
I marked the section from the side with the interfacing since it was see-through, and for obvious reasons I couldn’t just unpick the stitches from this side. More seam ripping!
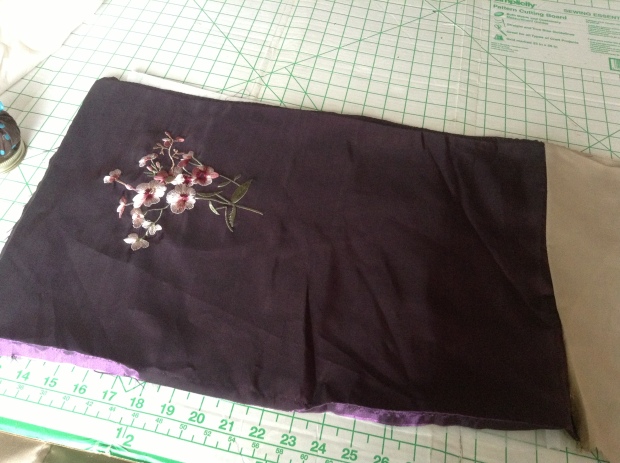
The section is free! I opened it up and smoothed it a little. A very little….Then I pinned it along the green edge of the other sham and stitched it together!
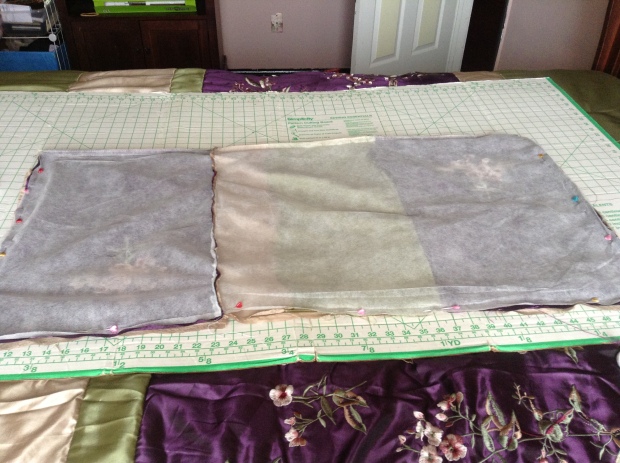
I matched up the edges as best as I could, and pinned the WHOLE thing together, RST.
Since I left the original opening alone, it ended up in almost the exact same location as on the old pillowcase. All I had to do after stitching was turn it and iron it! I shoved my pillow back in and I was finished! Super easy, right?
Thanks for reading as always!


