My ugly old file cabinet FINALLY got what it deserved! I mean, I really shouldn’t complain about how it looked. My old cabinet was a dark “wood” color and there was a chunk missing out of the top. Talk about tacky.
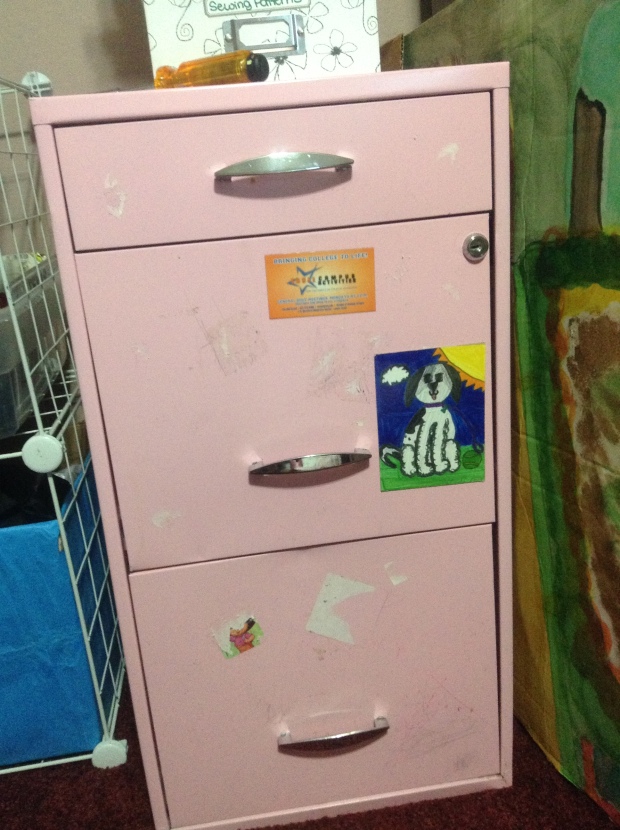
Here’s my cabinet, before taking anything off or out of it. See the stickers that I attempted to remove with little success?
Everything that was in the cabinet got dumped into this bag, and then I stacked some of it on the floor to sort through later. I also went ahead and removed the hardware. I couldn’t remember where I saw how to remove the lock, so I gave up after a few tries so I wouldn’t break it or damage the drawer it was on.
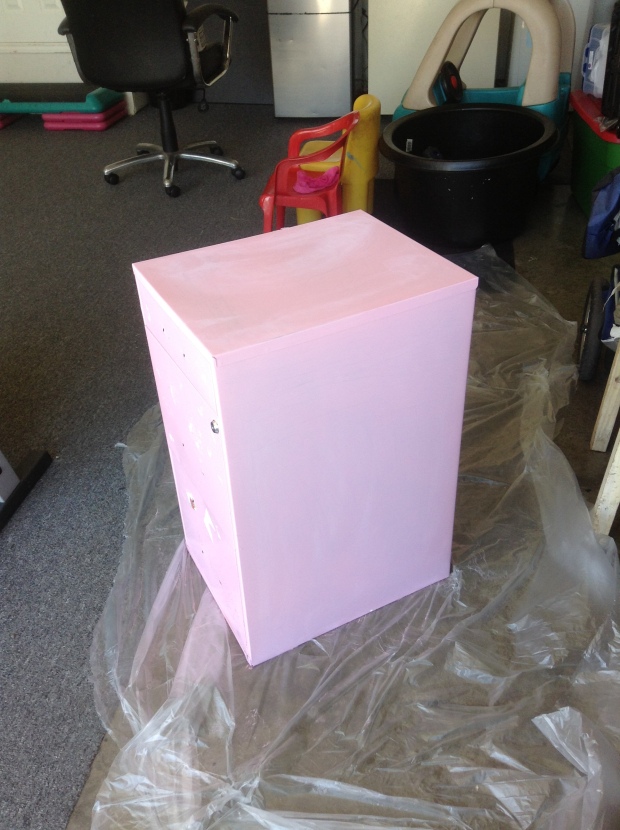
And here’s the cabinet, freshly sanded and cleaned.
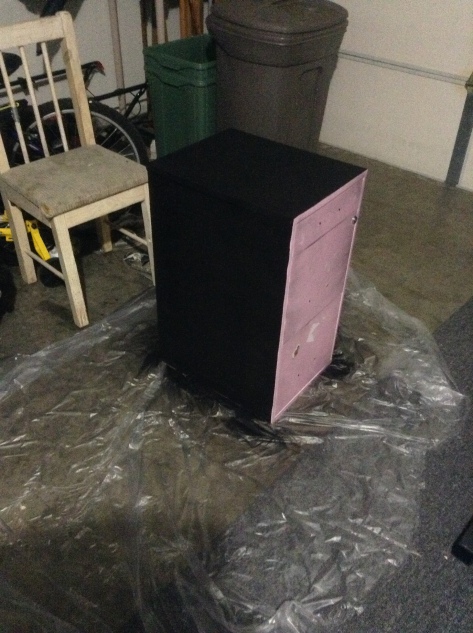
After spraying on the two coats of chalkboard spray paint (1 hour in between coats), it looked like this:
After 24 hours, I rubbed the sides and top with a piece of chalk and dusted it off.
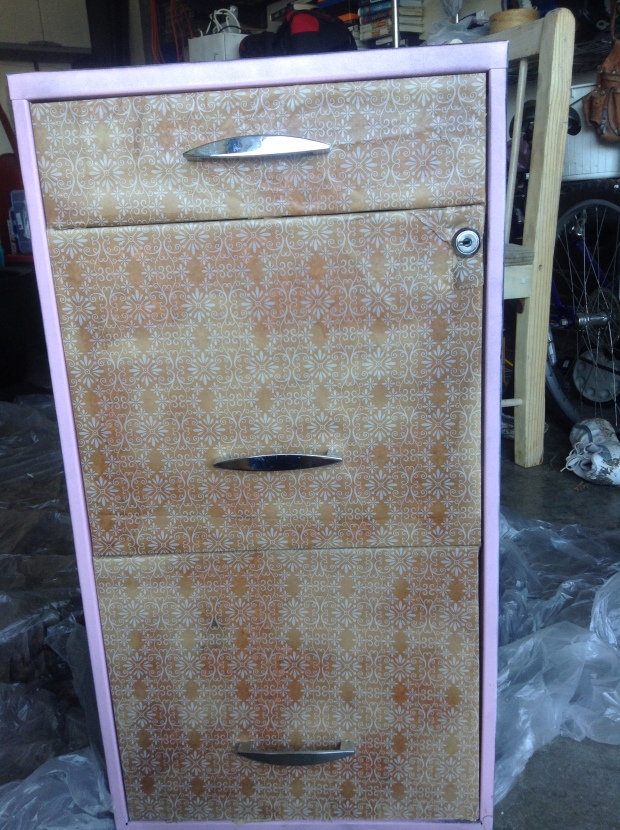
Then, I opened up the garage and, using some Target $1 wrapping paper and spray adhesive, I covered the front of the cabinet. I used my screwdriver to punch the holes for the hardware through the paper. Then, I sealed everything with a coat of clear enamel.
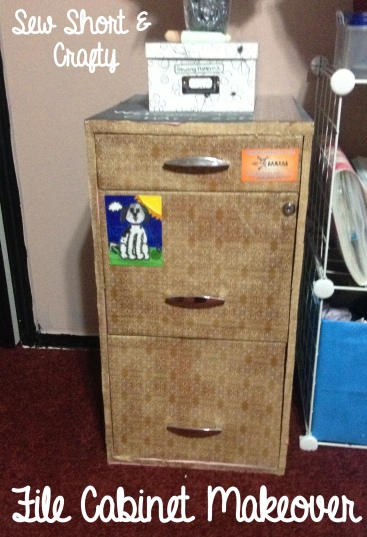
Here’s the cabinet after reattaching the hardware. After all this was done, I decided to paper the pink trim as well. It looked more cohesive that way.
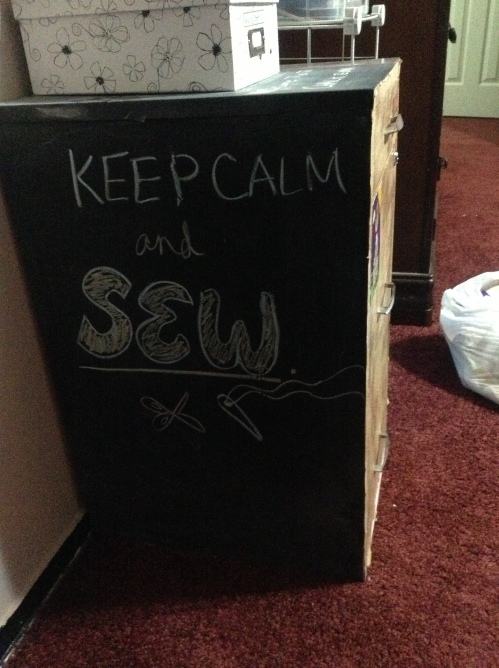
The finished cabinet, in my room.
The hardest part of this whole project was deciding what to write on it first! I decided on a variation of “Keep Calm” and “Welcome to the ChalkZone”, in honor of one of my favorite shows as a kid!
Thanks so much for stopping by!
