I love the Hunger Games trilogy. It’s amazing! I approached it with much reserve during my Twilight phase, and I was totally against reading it because every fan of the trilogy was bashing the Twilight Saga and I hated it. People kept bugging me to read it and I wouldn’t give in at the time. I kept saying I would later on down the road so I’m not jumping on the “OMG read this book before the movie comes out!” bandwagon. I ended up doing the same thing I did with Twilight. I read the first book the year after the first movie came out, only with Twilight I got the other books over time. Since I read The Hunger Games on my Kindle, I ended up buying and reading all three books within a week; they were so addicting!
Okay, I’m turning this into a book review. This is supposed to be a tutorial. Oops. Sorry, guys. Anyway…
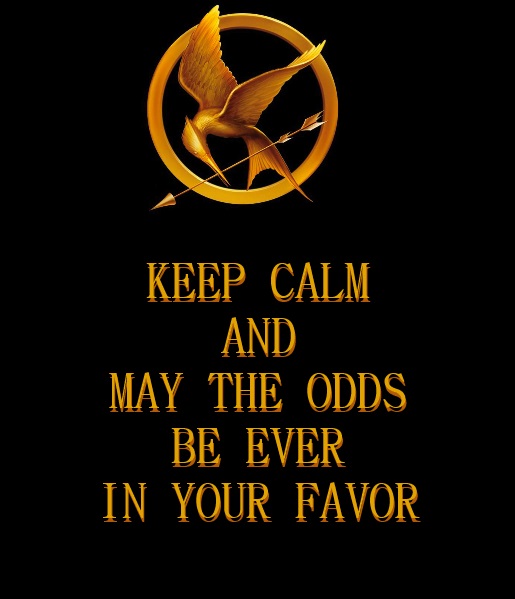
Like everybody else, I have been obsessing over all of these “Keep Calm” images, prints, and quotes all over Pinterest and “le interwebs” (if you recognize this from Ragestache, you are awesome!) I wanted my own after seeing *this* pin on Pinterest. I tried typing up my own and adding the image in preparation to just have it printed at a photo place, but it simply was too expensive for my tastes! So, I went to the next logical step (in my mind), and began brainstorming total DIY ideas.
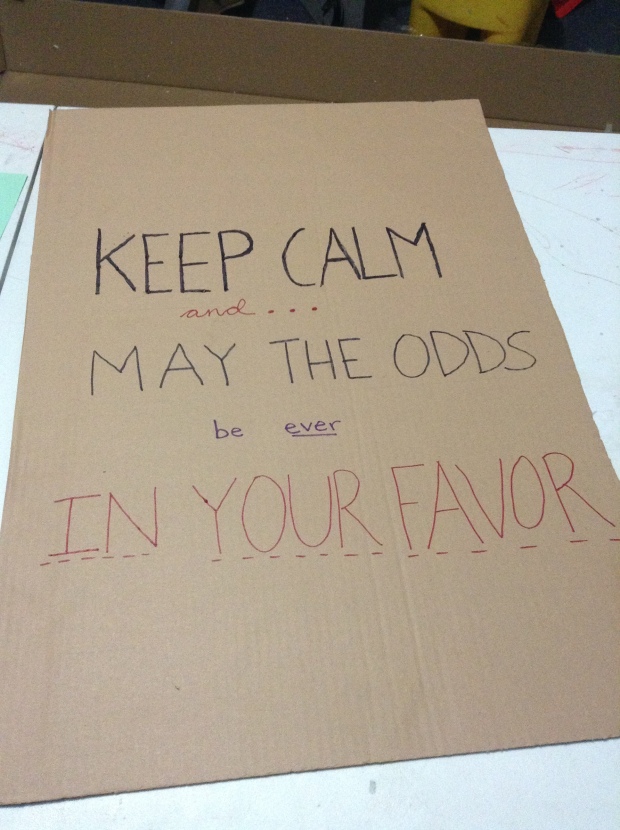
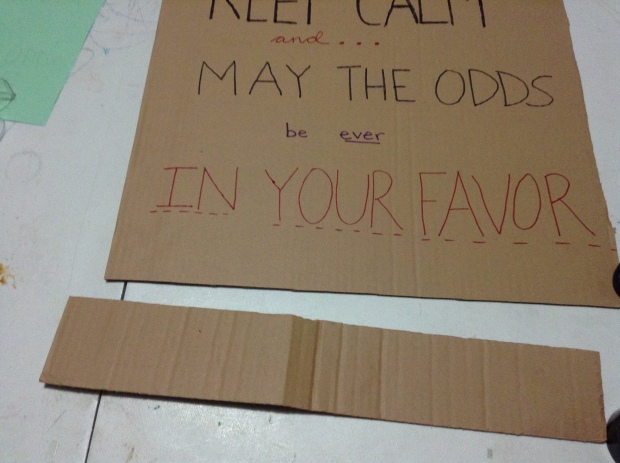
I could’ve bought black posterboard and used gold paint pens or Sharpies, and was all prepared to do so, when I stumbled upon the rest of my mom’s desk box packaging. The perfectly-sized piece of cardboard was just lying there, ready to be trashed. It started out at 25 inches long by 17 inches wide. I actually just had to run and dig for the paper I wrote this on. Hehe.
See my awesome fake lightbox setup? My dad hooked up one of our older (read: slower) computers to the TV, so I Googled “mockingjay”, opened the image, taped up a sheet of mint green paper, and traced away with my Sharpies!
Next, I added the lettering with Sharpie. This part scared me because I planned it out on paper a few times, but it still made me nervous. Perfectionist anxiety, I guess.
I then carefully cut out my little mockinjay and positioned him on the top of the poster. Since I didn’t want to use tape or glue, and I wanted whatever I used to be hidden, I colored some staples with a red Sharpie and stapled the birdy in place. I did stupidly forget how thin the cardboard was, though. I had to pry the cardboard loose before I could do anything else…
I hit the staples a few times at an angle with my dad’s hammer and covered all of the points with tape. No scratching my paint finish! You can also see my hastily scrawled layout…
I chopped of the excess cardboard, so now the length is 22 inches, a pretty do-able size for a poster. I then covered all the edges with black electrical tape. Then I had to open the garage door. Why? Well…
I chose to seal the poster. Why? I have no freaking idea. But I did it anyway. I sprayed the whole front and let it dry for an hour before moving it. It’s obvious where I taped down part of the Mockingjay…awkward. But it’s up on my wall and it looks awesome! So now, go make a “Keep Calm” print for yourself! Or a friend, maybe? Who cares, it’s so easy and cheap, you can just make up a bunch!
Thanks so much for stopping by!!


